Custom Svelte Store Examples
A store provides a reactive stream of data that can change over time. Creating a custom store in Svelte is easy. It’s just a simple matter of creating a writable store in a function and returning its subscribe function on an object.
Custom Store Use-Cases
Use-case: Business logic
An obvious use case is to create abstractions for your data. You can use writable as a low-level building block for more complex features.
import { writable } from 'svelte/store';
function myStore() {
	const { subscribe, set, update } = writable(0);

	return {
		subscribe,
		addOne: () => update(n => n + 1),
		reset: () => set(0)
	};
}

// Use it like a regular store
myStore.subscribe(console.log)
myStore.addOne()
Use-case: Callback wrapper
In SvelteFire, custom stores are used to wrap Firebase’s realtime callbacks. It makes it easy to share and dispose of data subscriptions to real data that would otherwise cause memory/cost leaks.
A writable store takes two arguments. The first is just the starting value. The second is a function where you can implement custom setup and teardown logic.
Look closely at the second argument to the store. The body of the function runs when the store receives its first subscriber, then it returns a function that will be called after the last subscriber unsubscribes
function customStore() {
  const { set, subscribe } = writable(null, () => {
    // on setup
    // runs after first subscriber

    disposeOfListener = firestore.doc('hello/dog').onSnapshot(set); // Set the value of the store

    return () => {
      // on teardown
      // runs after last subscriber unsubscribes

      disposeOfListener();
    };
  });

  return {
    subscribe
  };
}

// Use it like a regular store
const unsubscribe = customStore.subscribe(console.log);

// Call unsubscribe to dispose of the Svelte store and the firebase listener.
unsubscribe();
Use-case: Redux-style State Management
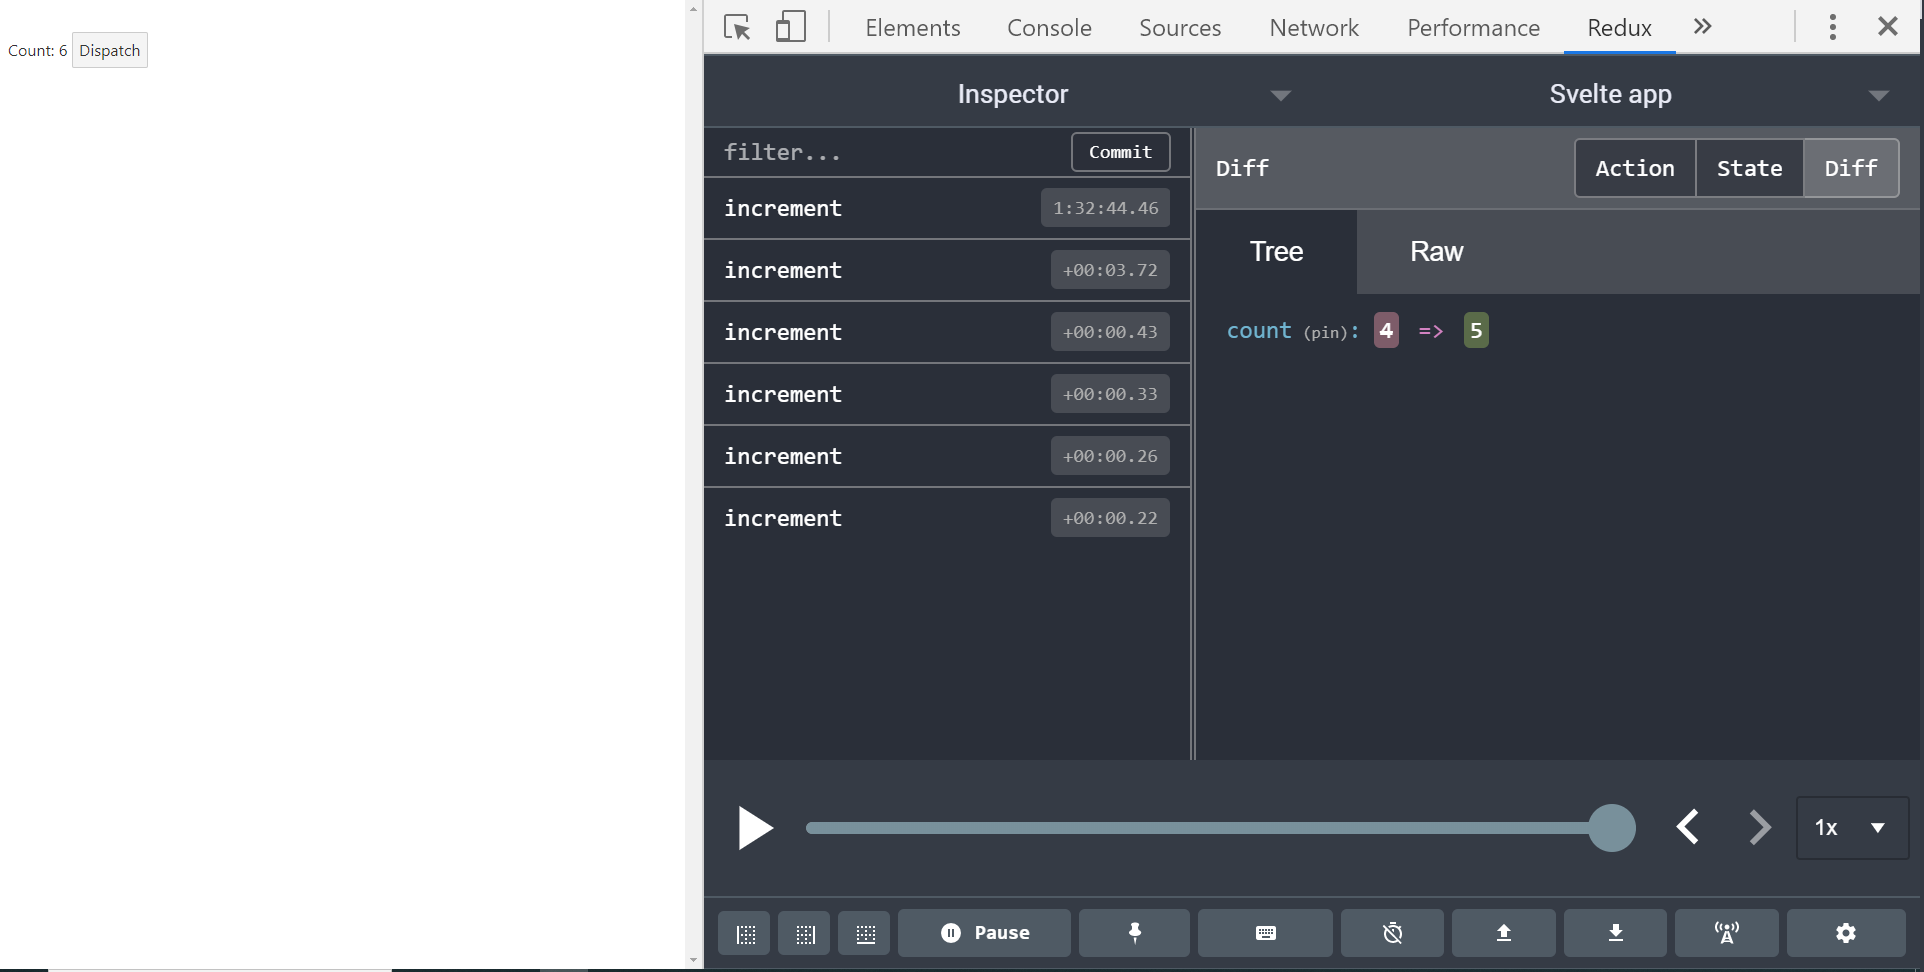
You may want to create your own Redux-inspired state management solution - custom stores can handle that. In addition, notice how the Redux dev tools browser extension is being used as middleware to provide better tooling.
Note. You must have Redux Dev Tools installed to see the state chart and action history.

Look! I’m using redux dev tools in Svelte
<script>
  import { writable } from "svelte/store";

  function redux(init, reducer) {
    const devTools =
      window.__REDUX_DEVTOOLS_EXTENSION__ &&
      window.__REDUX_DEVTOOLS_EXTENSION__.connect();

    const { update, subscribe } = writable(init);

    function dispatch(action) {
      update(state => {
		devTools.send(action, state);
        return reducer(state, action);
      });
    }

    return {
      subscribe,
      dispatch
    };
  }

  const reducer = (state, action) => {
    console.log(state.count, action);
    switch (action) {
      case "increment":
        return { count: state.count + 1 };
      default:
        return state;
    }
  };

  const store = redux({ count: 0 }, reducer);

</script>

Count: {$store.count}
<button on:click={e => store.dispatch('increment')}>Dispatch</button>
